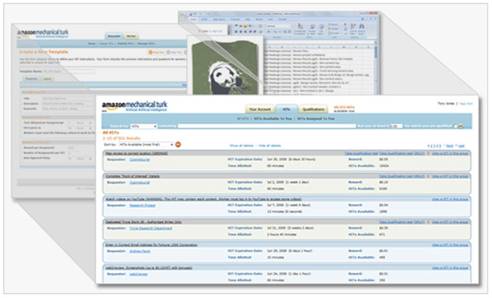
Getting Started
Learn how you can easily create thousands of HITs at a time using the Requester website.
Before You Start
- visit www.mturk.com to familiarize yourself with basic Mechanical Turk concepts such as HITs, rewards and qualifications.
- clearly define the problem you're trying to solve and how it can be broken down into simple tasks
- understand the basics of HTML
Creating HITs
Suppose you need to post a few thousand tasks on Mechanical Turk to solve a business problem. For example, you have a list of 10,000 images that you need to tag with keywords so that the images can be searchable. You want users to provide keywords for each image based on its contents. You do not want to create each HIT individually. Instead, what you will do is:
- create a HIT template
- upload your input data
- publish your HITs
Mechanical Turk will automatically generate the HITs individually based on the HIT template and the input data you provide.
Create a HIT Template
A HIT template is the blue print for a task. A HIT template consists of the elements that stay the same from HIT to HIT:
- HIT properties, e.g. rewards, title, description and keywords.
- HIT layout, including the instructions and questions.
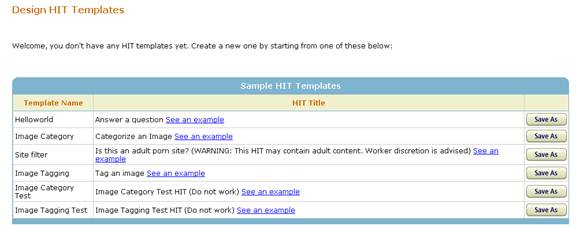
The Requester site provides sample templates that cover common uses of Mechanical Turk to get you started. To create your own template, simply make a copy of a sample template that matches your needs or start from a blank template.
Setting a variable in the HIT template
The properties and layout of the HIT template determine the elements of the HITs that stay the same. You also need to define variables for the elements of the HIT that are different from HIT to HIT. In the 'Tag an image' example, the only thing that changes from HIT to HIT is the image that needs to be tagged.
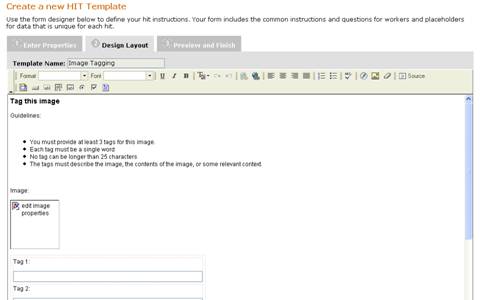
To indicate what part of the HIT layout will be unique to each HIT, e.g. the image to be tagged, you need to specify a variable in the HTML source code of the HIT layout.The syntax for defining a variable is:
${VARIABLE_NAME}
To get to the HTML source of the layout, click on the 'Source' tab in the editor to edit the source code directly.

In this example, you're putting an image in the HIT where the link to the image is a variable. The variable name is 'image_url'.

Uploading Your Input Data
After you have designed your HIT layout, set the HIT properties and specified your variables, you need to prepare your input data.You can download a sample of the input file required for your HITs.
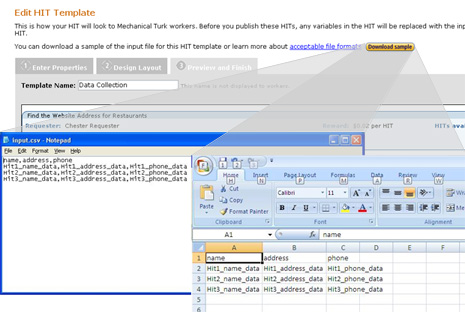
Notice that the column headers need to match the variable names that you defined.Each row of data in the file represents a HIT that will be created.
Publishing Your HITs
Now you're ready to publish your HITs, following these steps:
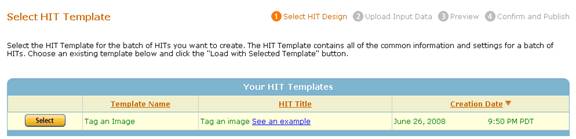
- select the HIT template you created.
- upload the input file
- preview your HITs
- publish
Review Results
After your batch is created, you can track the progress of the batch on the Manage HITs to see when your batch is ready for review.
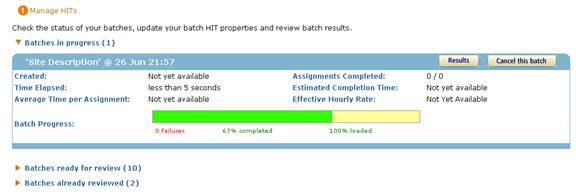
When you review your results, you can see the answers submitted by the workers next to your input data. You can select which assignments to approve and reject. You can also:
- add or remove columns in your result set view using 'Configure Result View'
- specify which assignments you want to include in the view using 'filter results'

Once you have approved and rejected all of your results, you can download the full result set using 'export results'.